 182
182
Tip! Set your Task sheet as a favorite in Smartsheet for quick access.
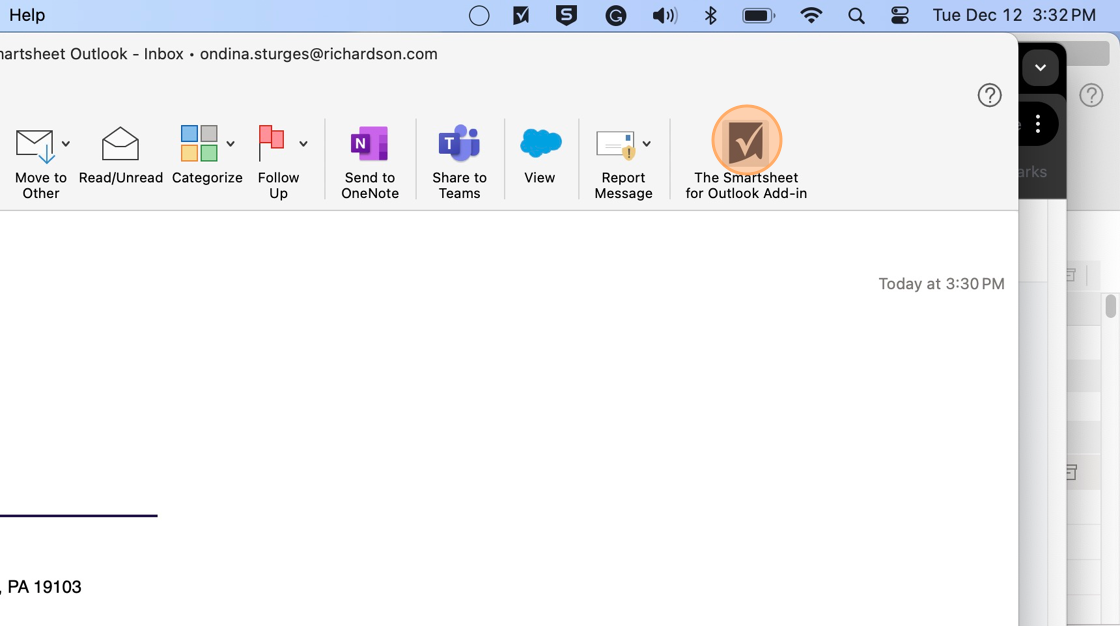
1. Select or open the email then click "The Smartsheet for Outlook Add-in"
2. A sidebar will open for you to log in. Note that you may need to sign in periodically.
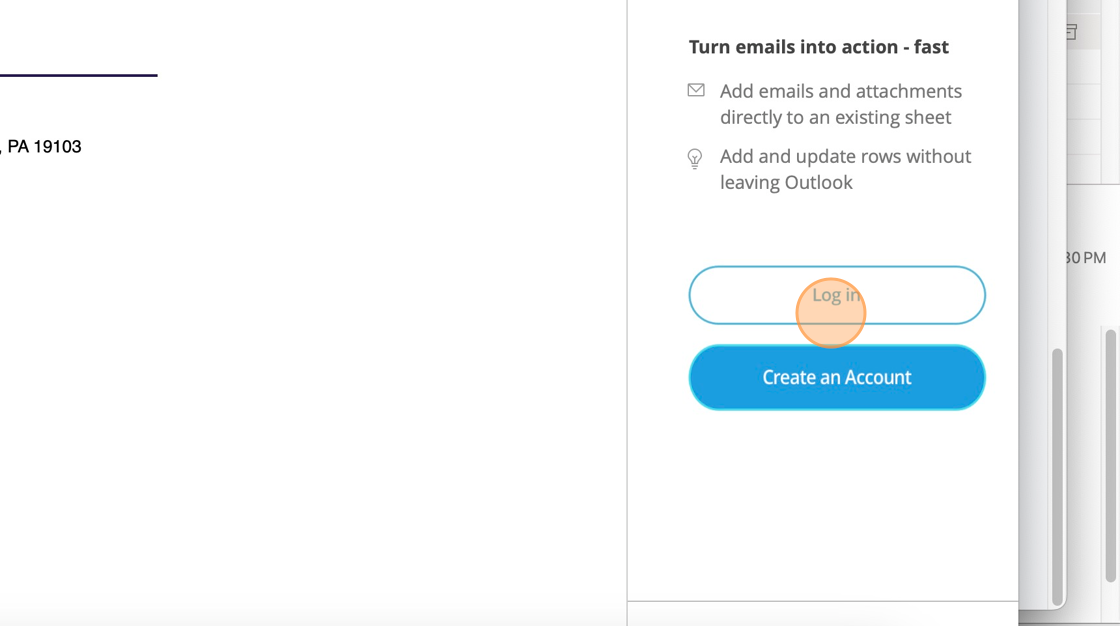
3. Enter your Smartsheet credentials.

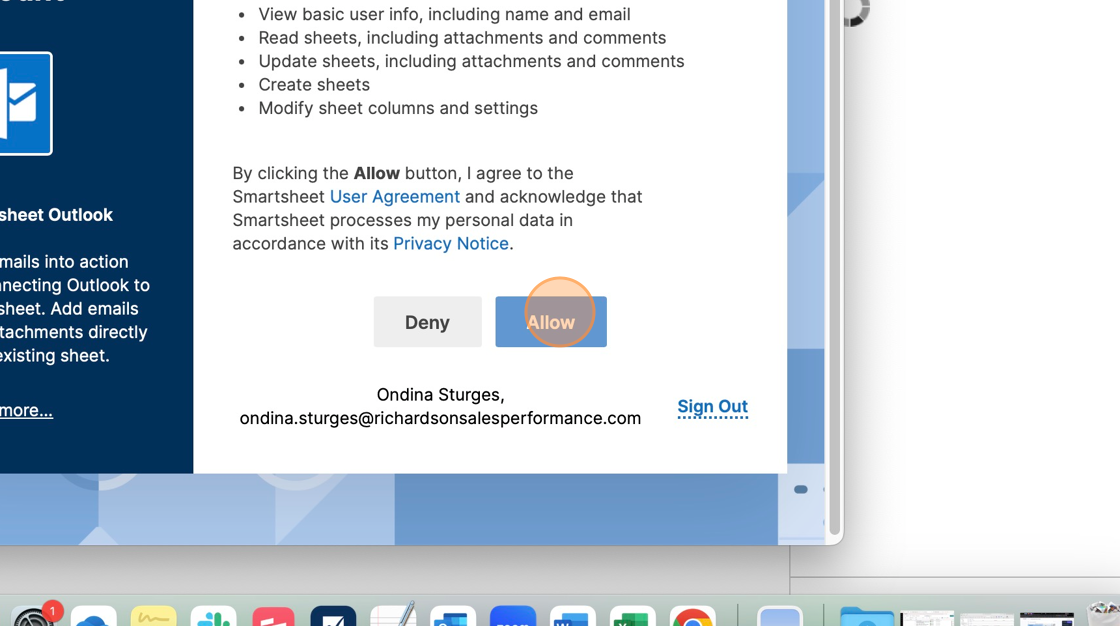
4. Click "Allow"
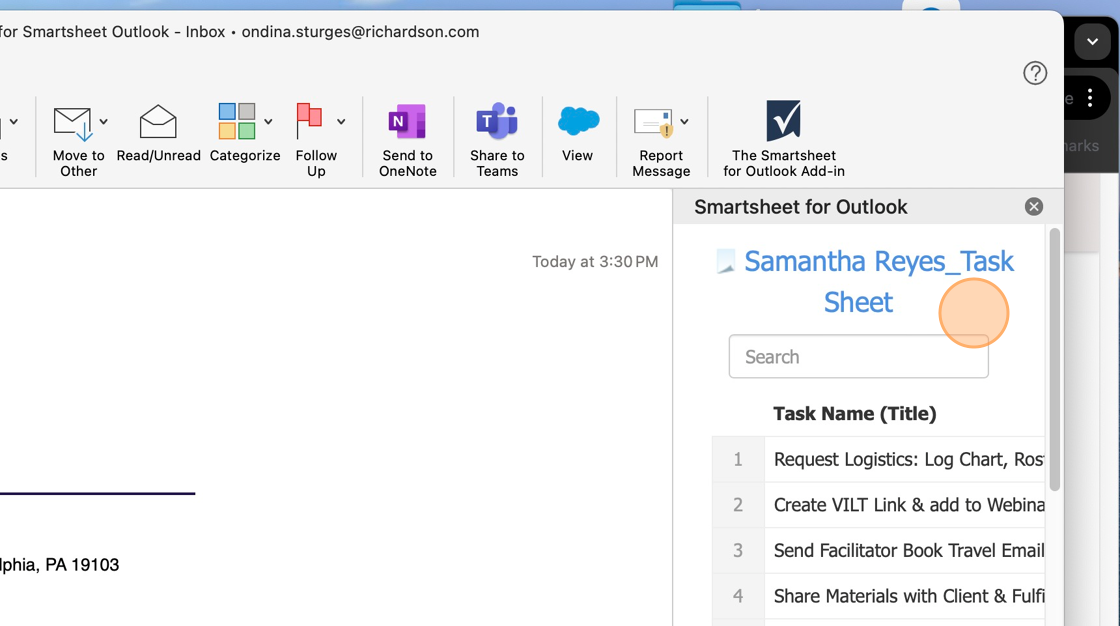
5. From the sidebar, navigate to your Task sheet via the Search or Favorites.
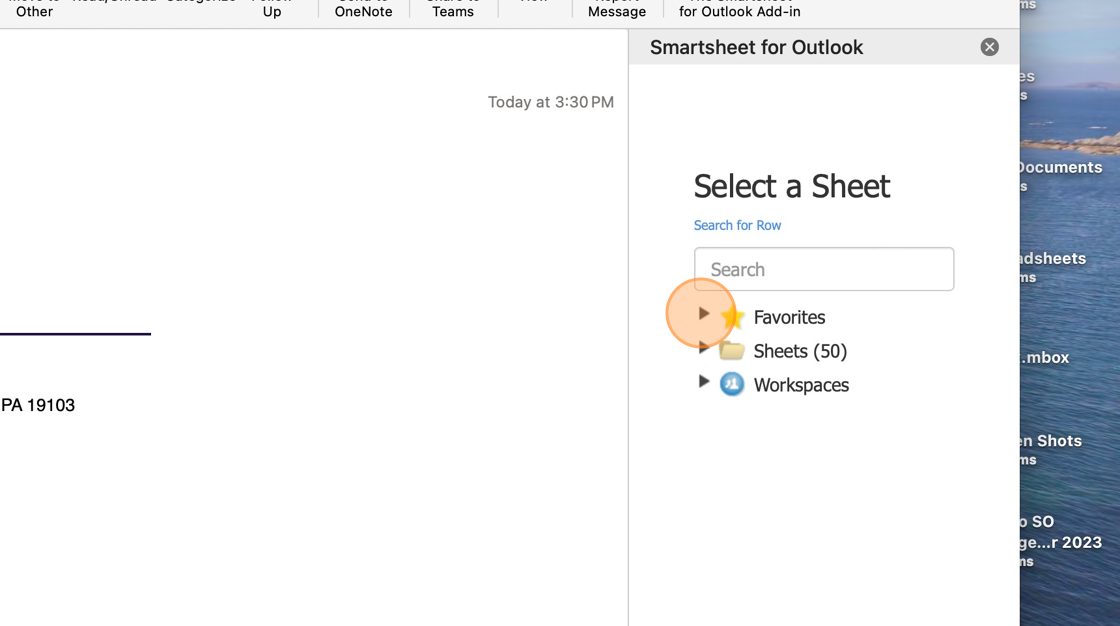
6. Ensure the correct sheet was selected
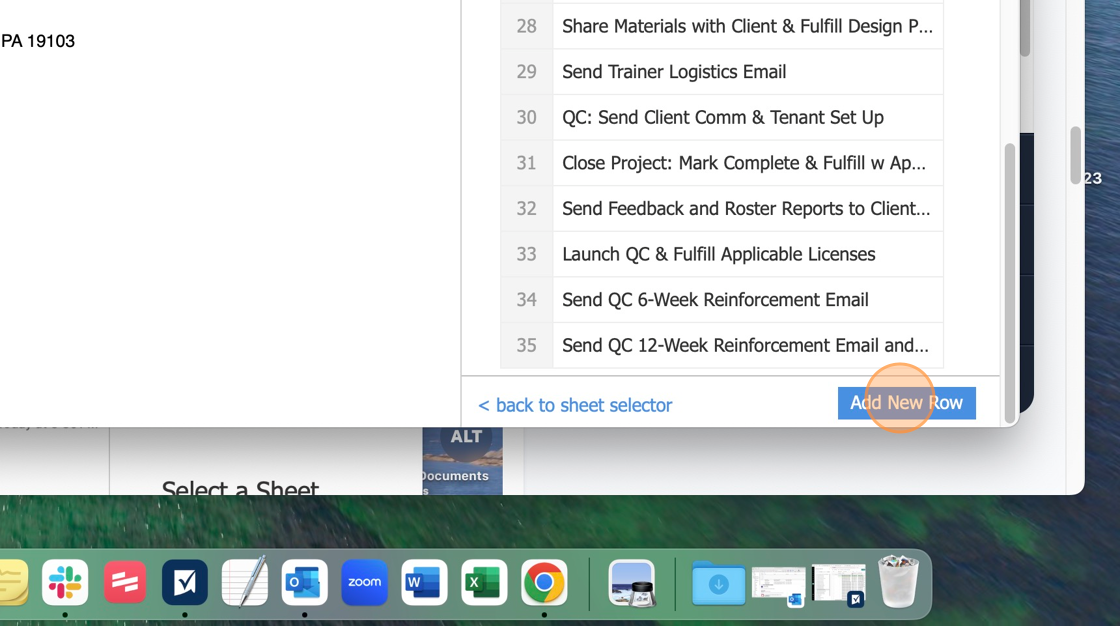
7. Scroll to the bottom then click "Add New Row"
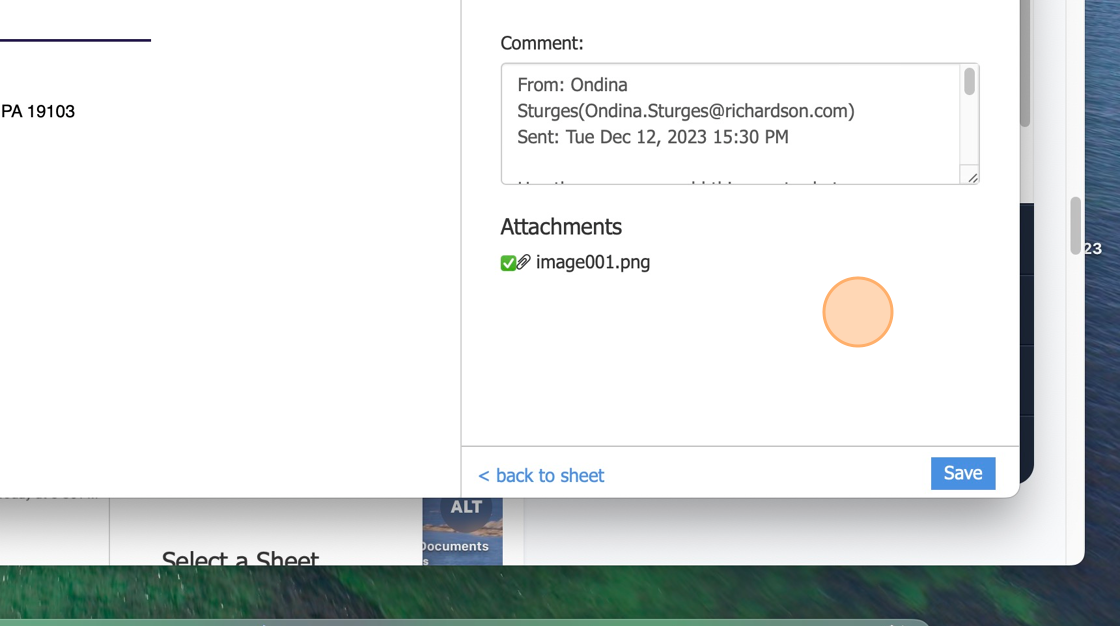
8. You can de-select any attachments you do not want to include with the task then click "Save".
9. Click "show more "

10. Enter the Customer name, if applicable. It does not need to match the name in NetSuite or in Smartsheet.
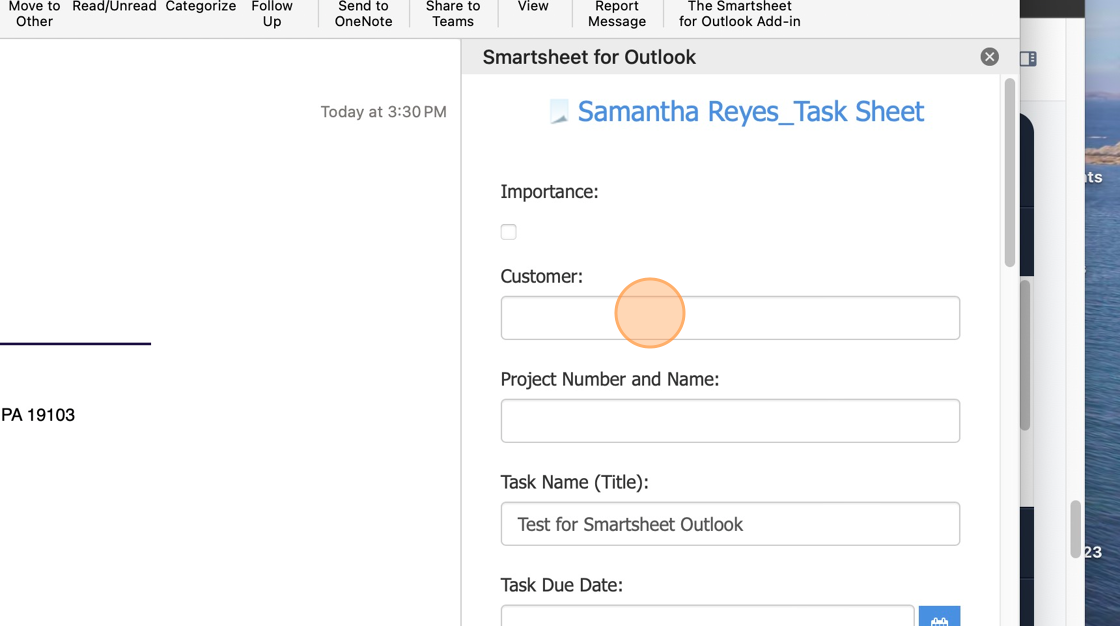
Alert! Only Task fields can be updated in Smartsheet. Do not populate any of the Project fields or you will receive an error message. Information for associating the task with a project in Smartsheet is included below.
11. The Title defaults to the email subject line but you can change as needed
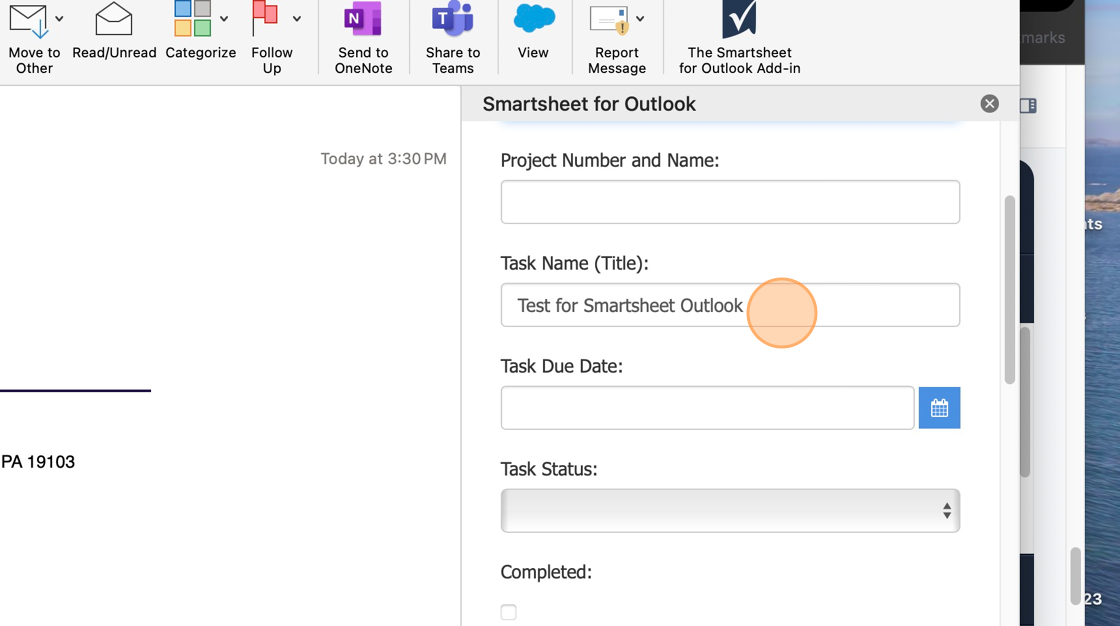
12. Enter a Due Date
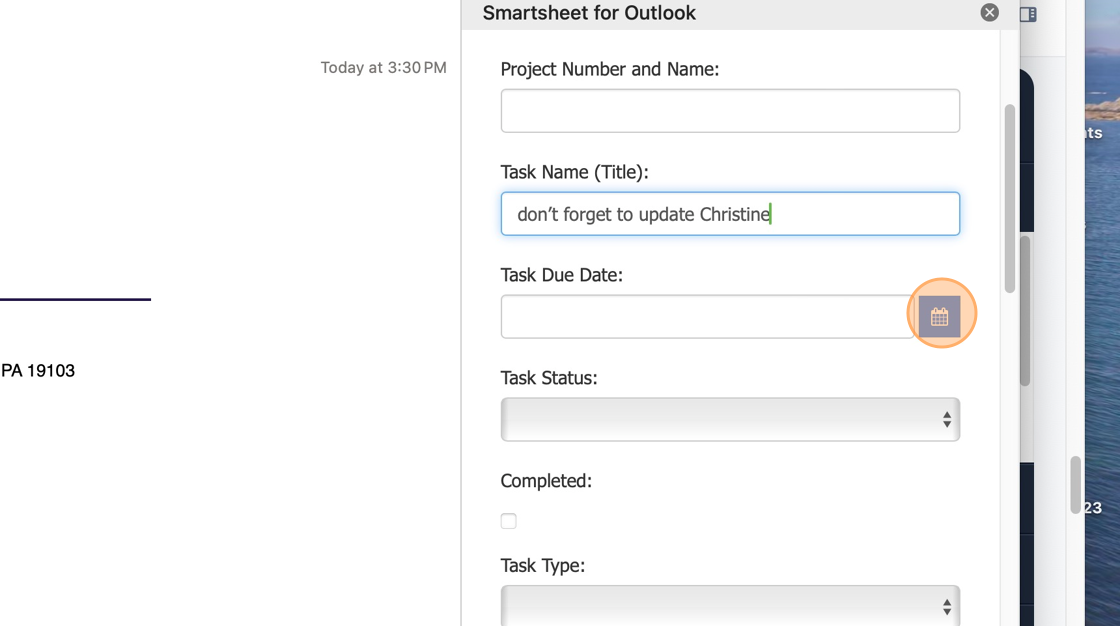
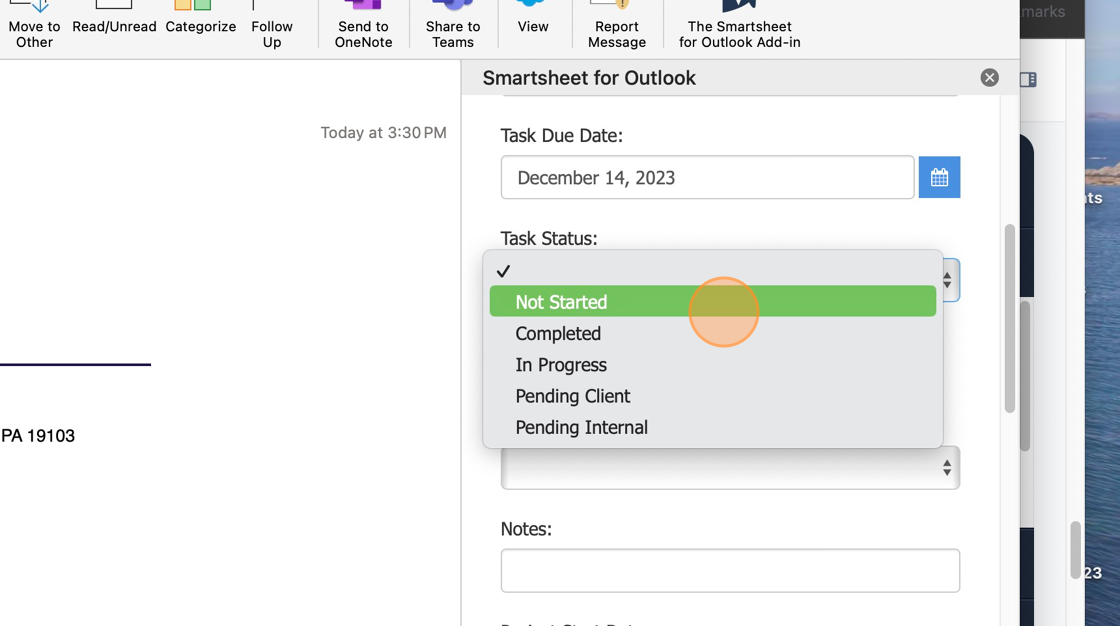
13. Select the "Status"
14. Select the "Task Type"
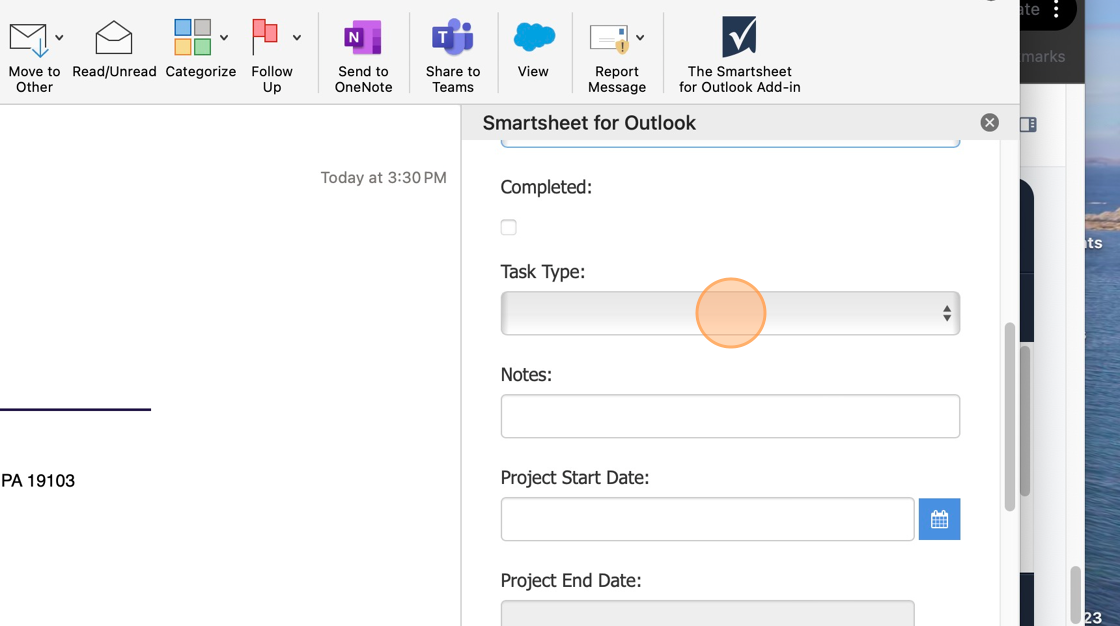
15. Enter any notes or leave blank
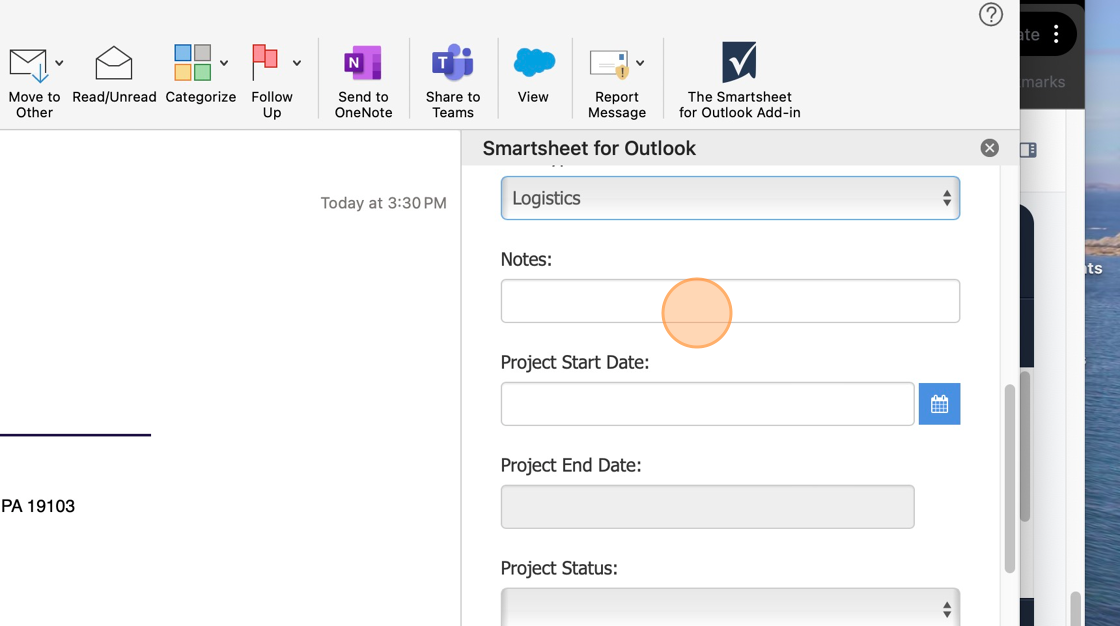
16. Enter your full name in the CEC field
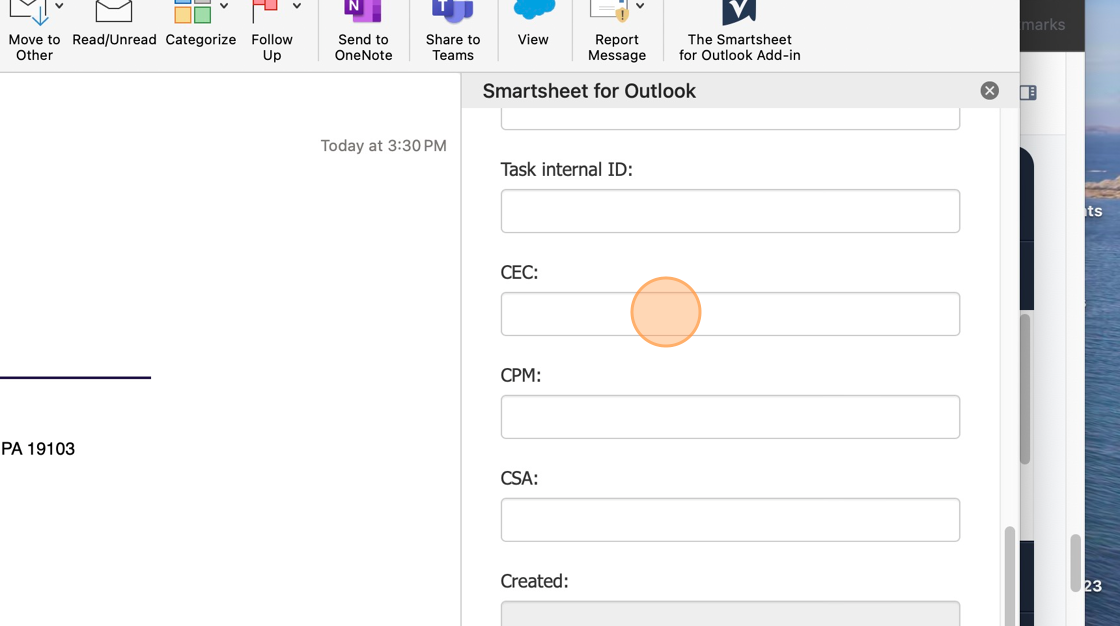
17. Click "Save"
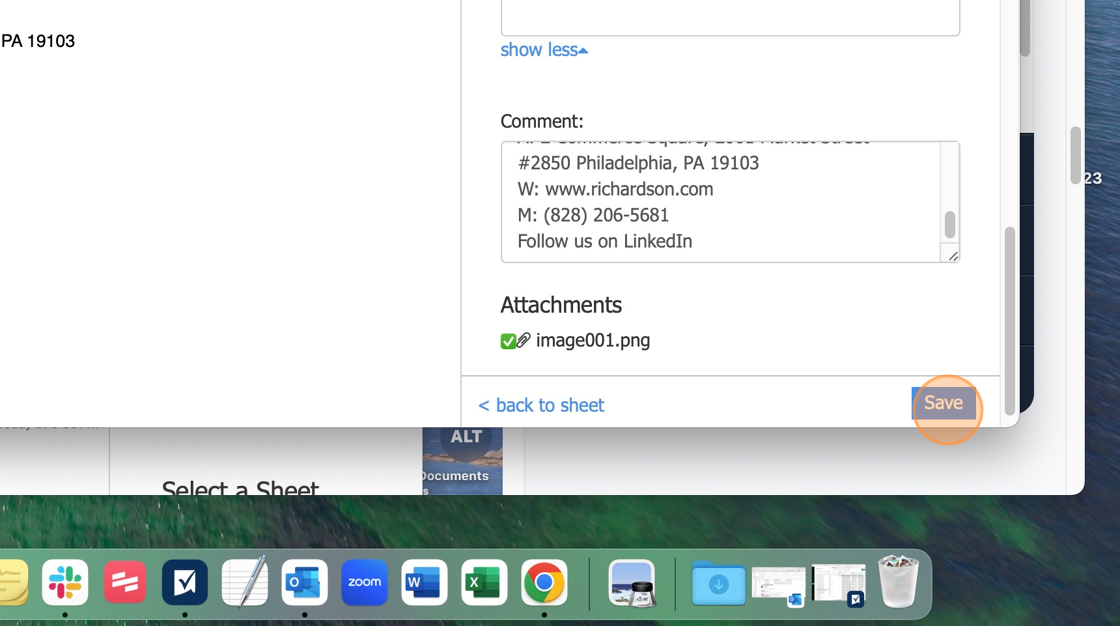
18. Navigate to your Task sheet and refresh. If you do not see the option simply refresh your browser page.

19. Scroll to the bottom to find the newly created task.
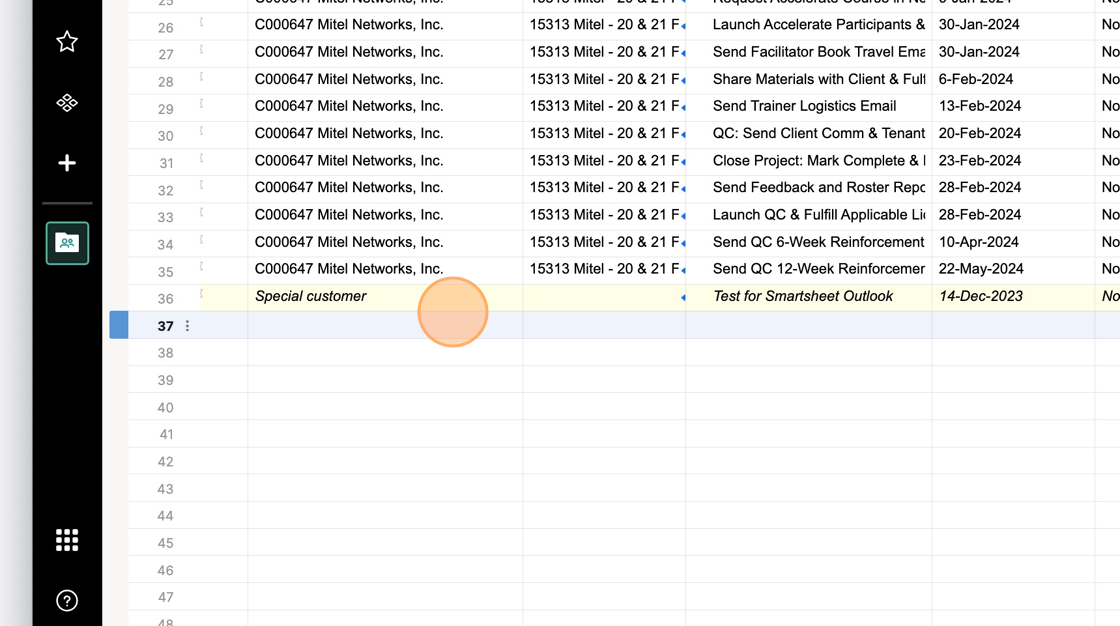
20. If you want to associate the task with a project, locate an existing task row for the project and navigate to the Task Internal ID column.
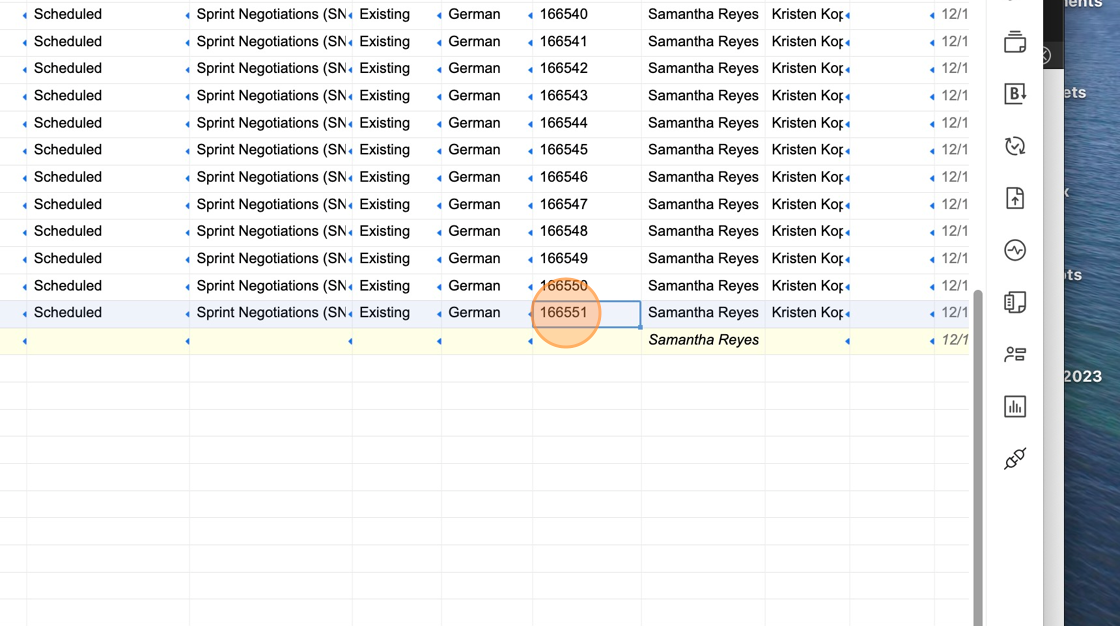
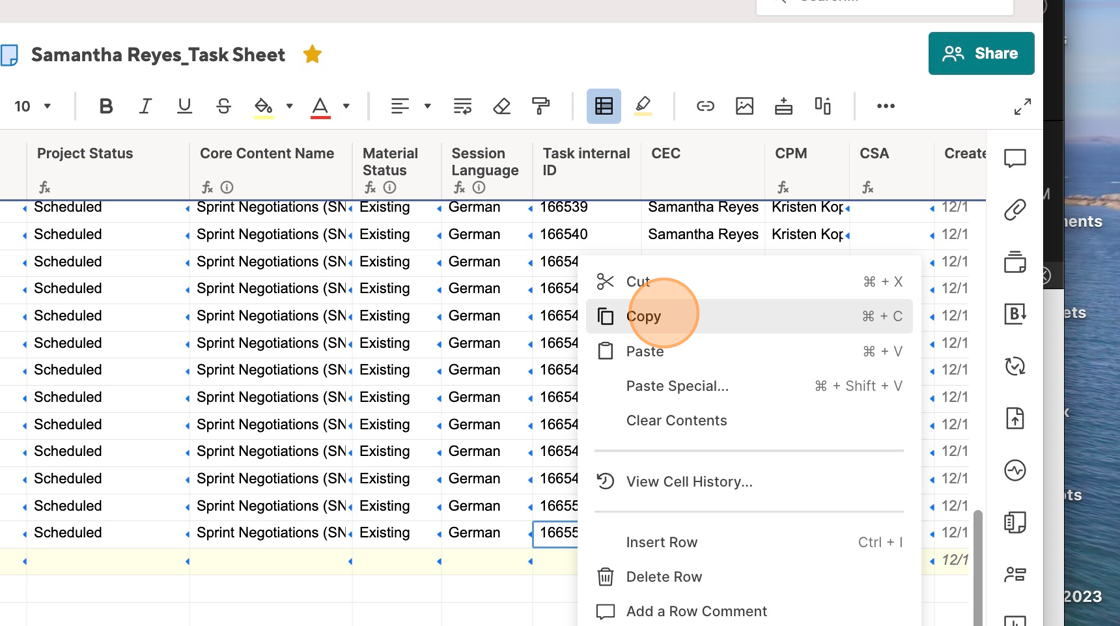
21. Right-click and select "Copy" on the Task Internal ID
22. Scroll down to the newly created task, and right-click paste into the Task Internal ID column.
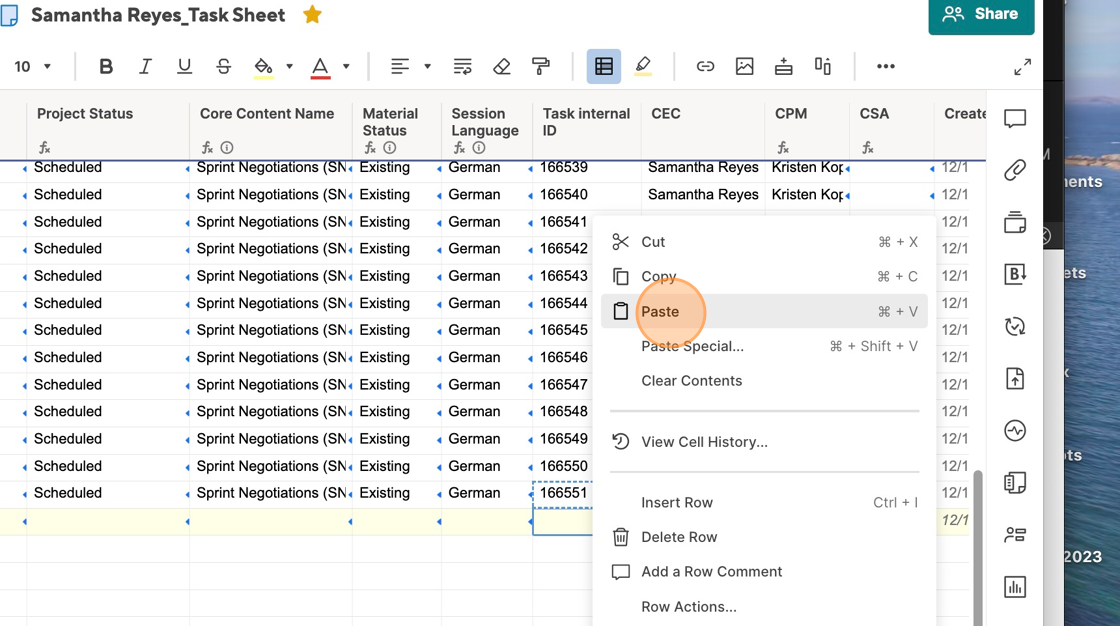
23. The Project-level columns will automatically populate


