 133
133
This guide provides step-by-step instructions for adding a list of transactions to the Customer dashboard. By following the steps, users can easily personalize their dashboard and view sales orders and item fulfillments in one convenient location.
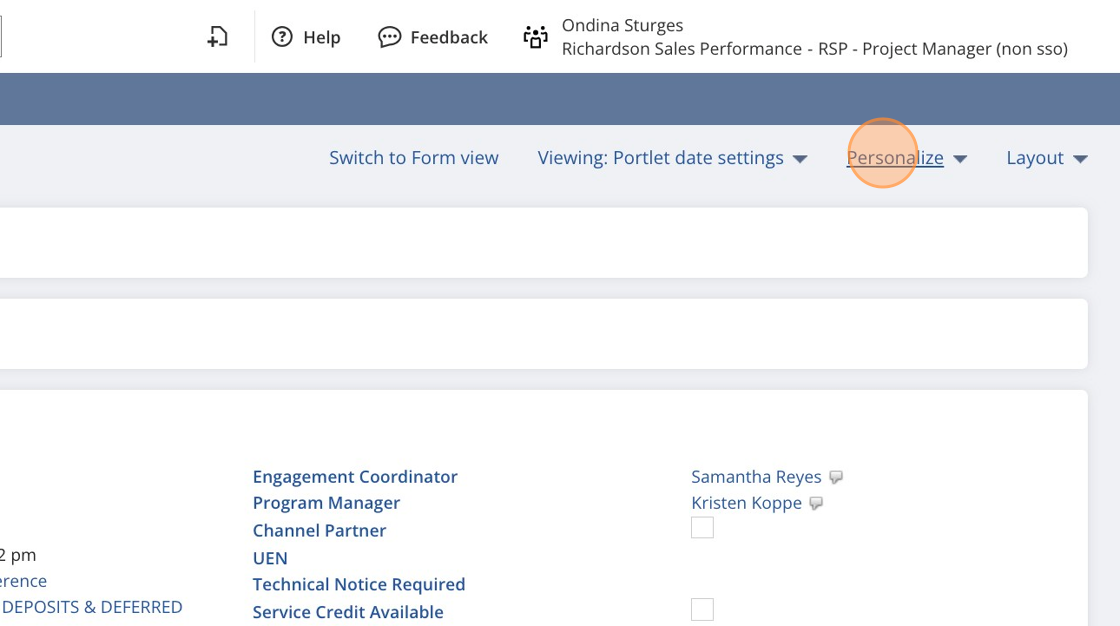
1. Navigate to any Customer dashboard and click "Personalize".
2. Locate the List icon and drag to your preferred location on the dashboard.
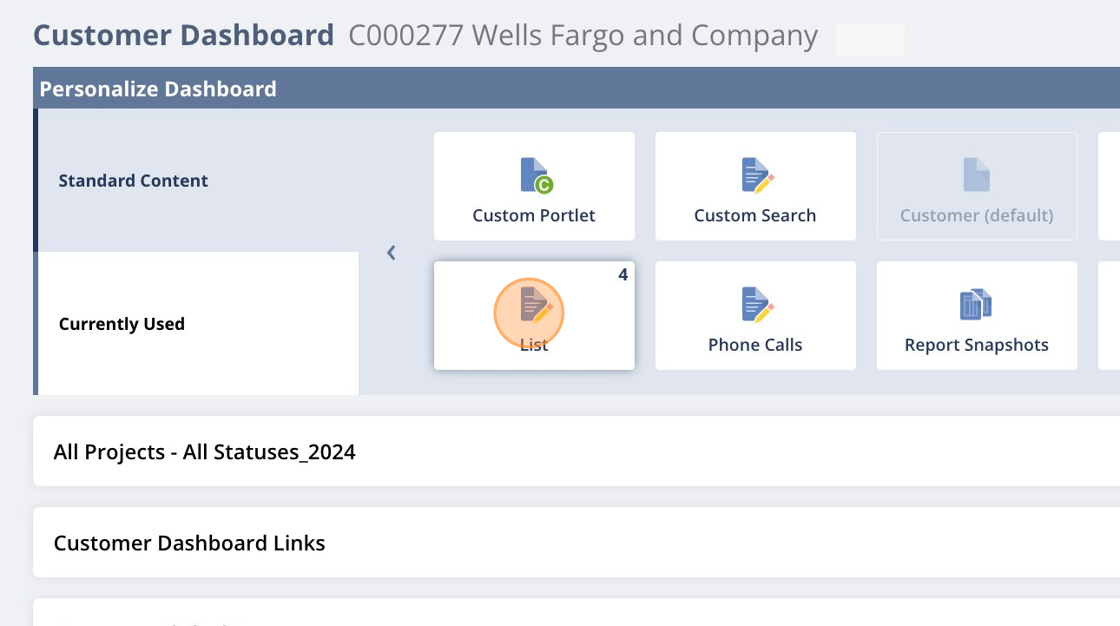
Tip! The number in the icon (4 in the above example) is the number of "Lists" you can add to the dashboard. Simply repeat these instructions as needed. For example, you can have a list of Sales Orders and a separate list of Item Fulfillments.
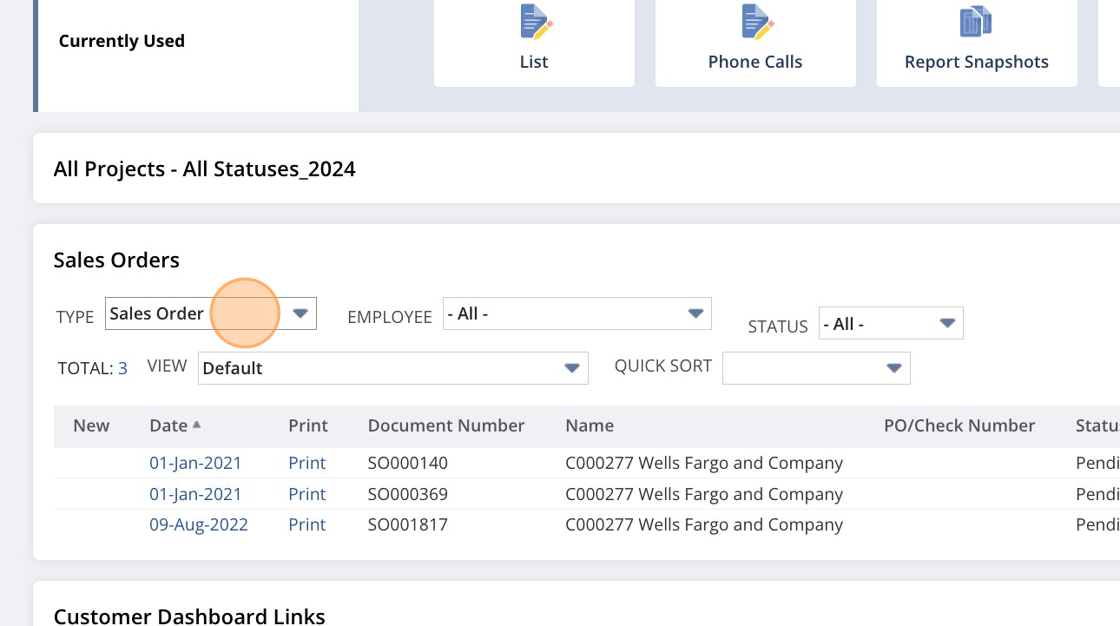
3. Click into the Type filter to select the preferred transaction (sales order, fulfillment, etc).
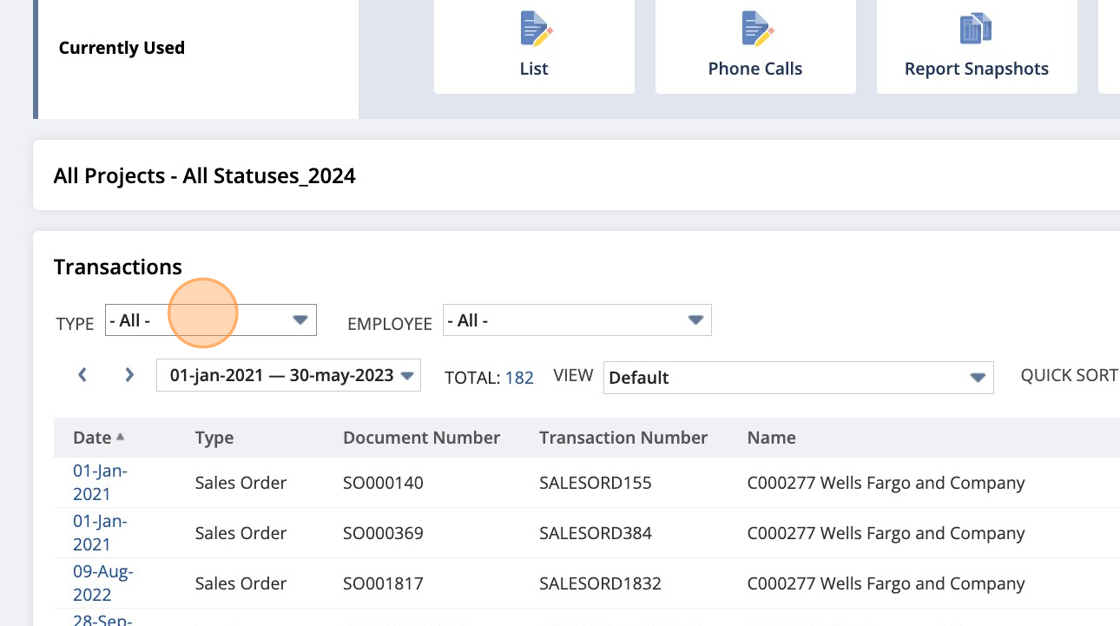
4. Click the option.
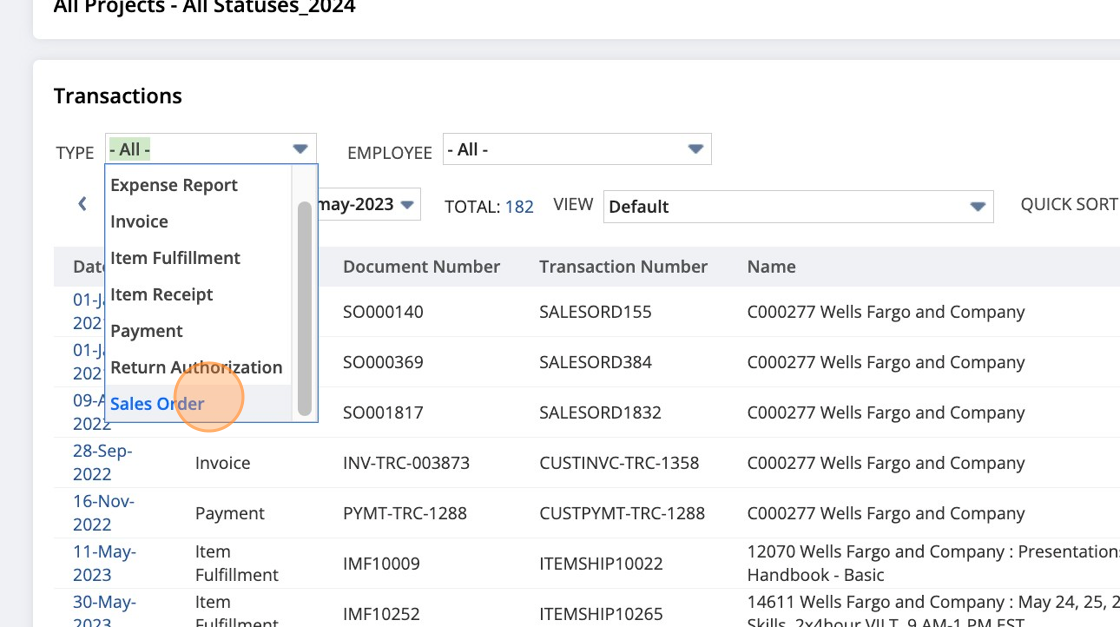
5. A list will be returned for all transactions of the selected type. Simply select a different Type to toggle back and forth as needed, or, repeat the steps above to add a separate portlet for a different transaction Type.
